15 Brilliant Space Saving Hacks for Shed Organization
When it comes to organizing your shed, space can often feel limited, making it a challenge to keep everything tidy. The good news is that with some clever planning and innovative ideas, you can transform your shed into a well-organized haven. In this article, we will explore 15 brilliant space-saving hacks that will help you maximize every inch of your shed, making it more functional and inviting.
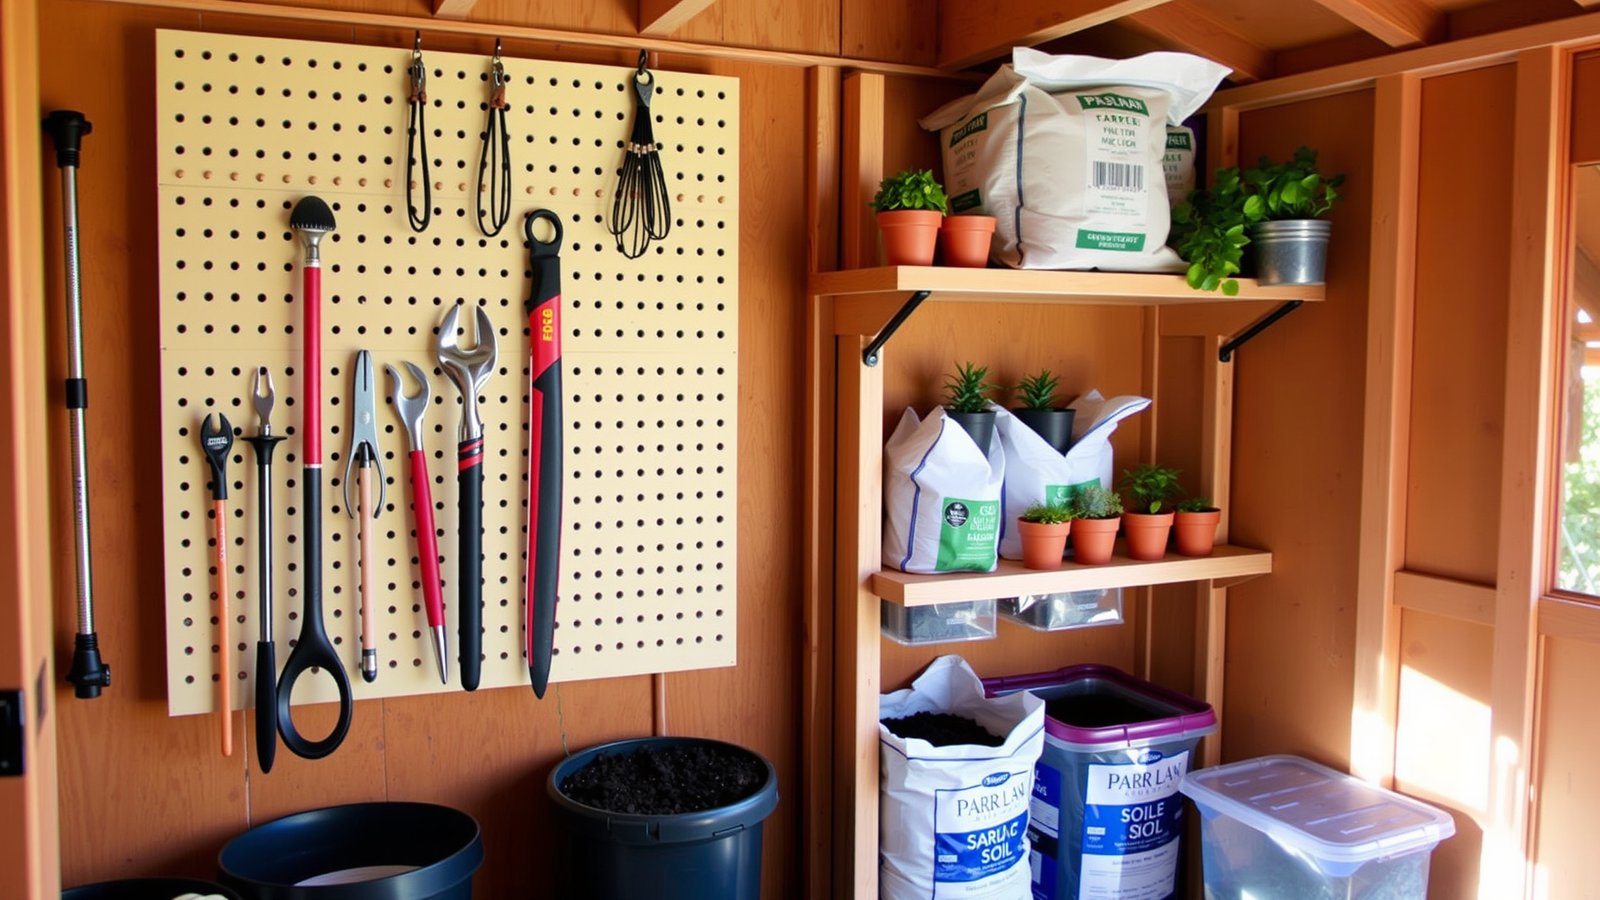
1. Use Vertical Space Wisely
One of the best ways to save space in your shed is to utilize vertical storage. This means taking advantage of your shed’s walls by adding shelves, hooks, or pegboards. Imagine your garden tools hanging neatly on a pegboard, or your shelves stocked with pots and soil bags. This keeps your floor space clear and makes it easy to grab what you need. By going vertical, you not only gain more storage but also create a visually appealing setup. Consider adding floating shelves to display small plants or decorative items. A simple tip to start is to install a pegboard where you can hang tools, keeping them visible and accessible.
Helpful Styling Tips
- Stick to a color scheme like earthy tones to match the outdoor feel.
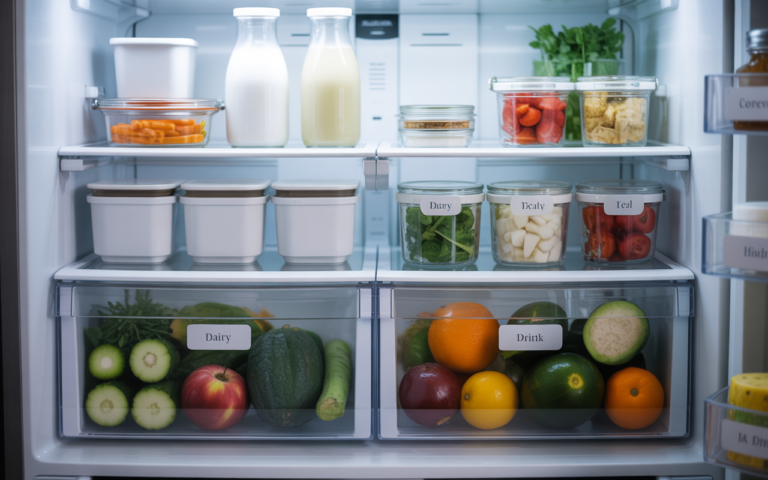
- Use clear containers for easy visibility of items.
- Label shelves or containers for quick identification.
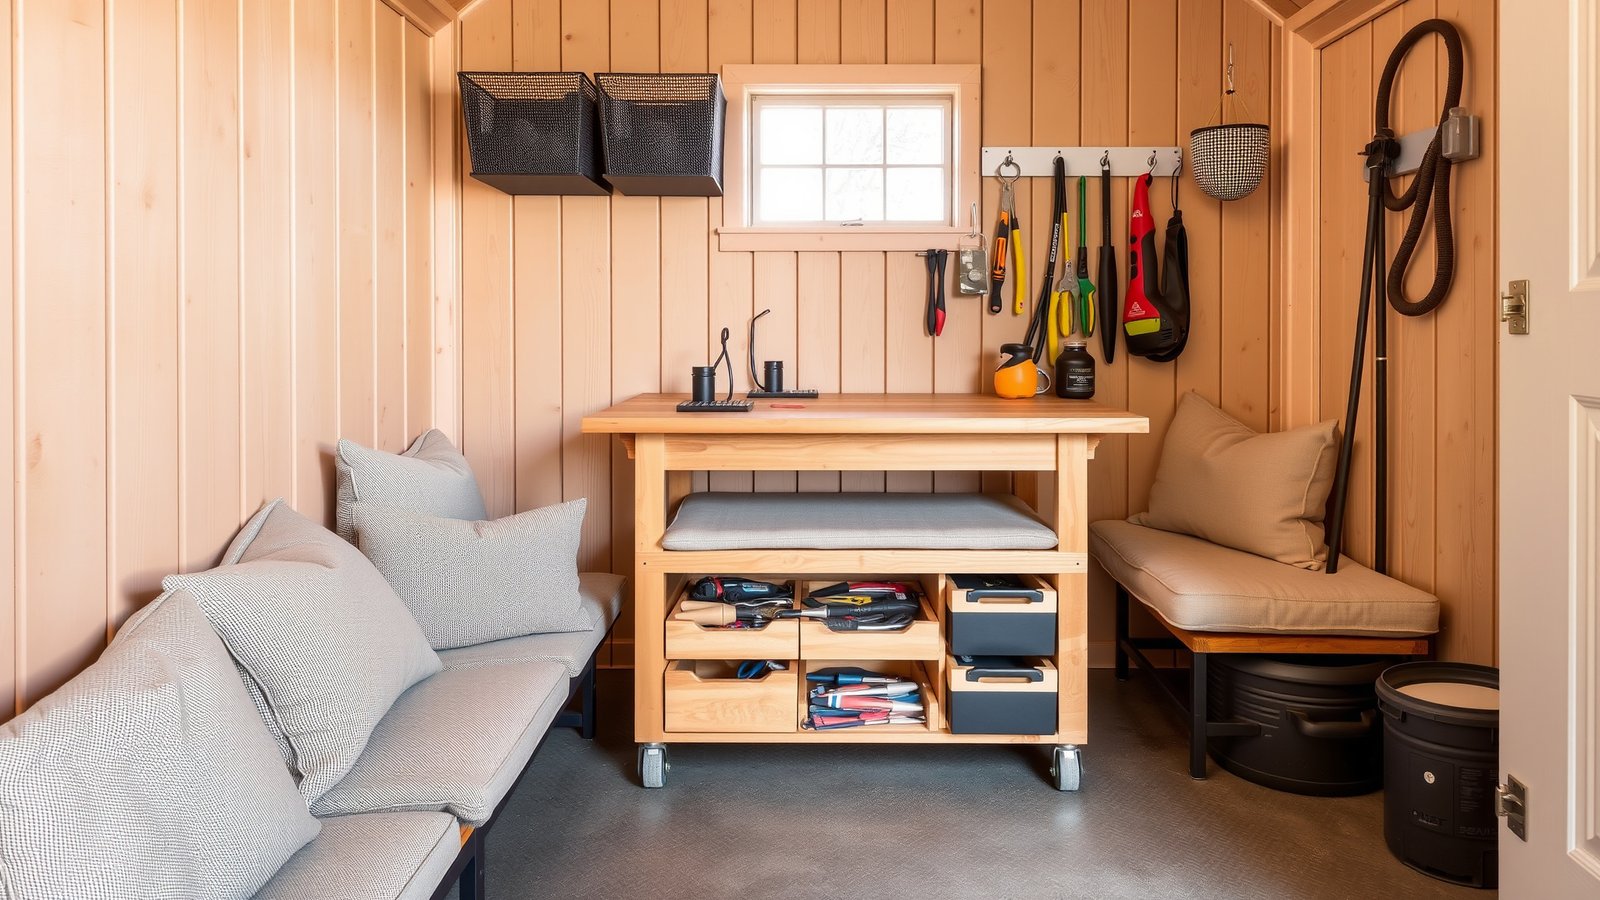
2. Invest in Multi-Functional Furniture
Multi-functional furniture is a game changer for small spaces. Consider a workbench that doubles as storage. These benches often have drawers or shelves underneath, allowing you to keep tools and supplies organized while providing a workspace for projects. Picture a sturdy bench with tools neatly tucked away beneath, ready for your next DIY adventure. This approach not only saves space but also enhances the utility of your shed. To make the most of this idea, look for benches with wheels so you can easily move them around when you need extra space. A quick tip is to choose a workbench that matches your shed’s aesthetic for a cohesive look.
Helpful Styling Tips
- Choose neutral colors to blend with your shed’s interior.
- Opt for benches with storage compartments to keep things tidy.
- Incorporate cushions for comfort if you spend time working there.
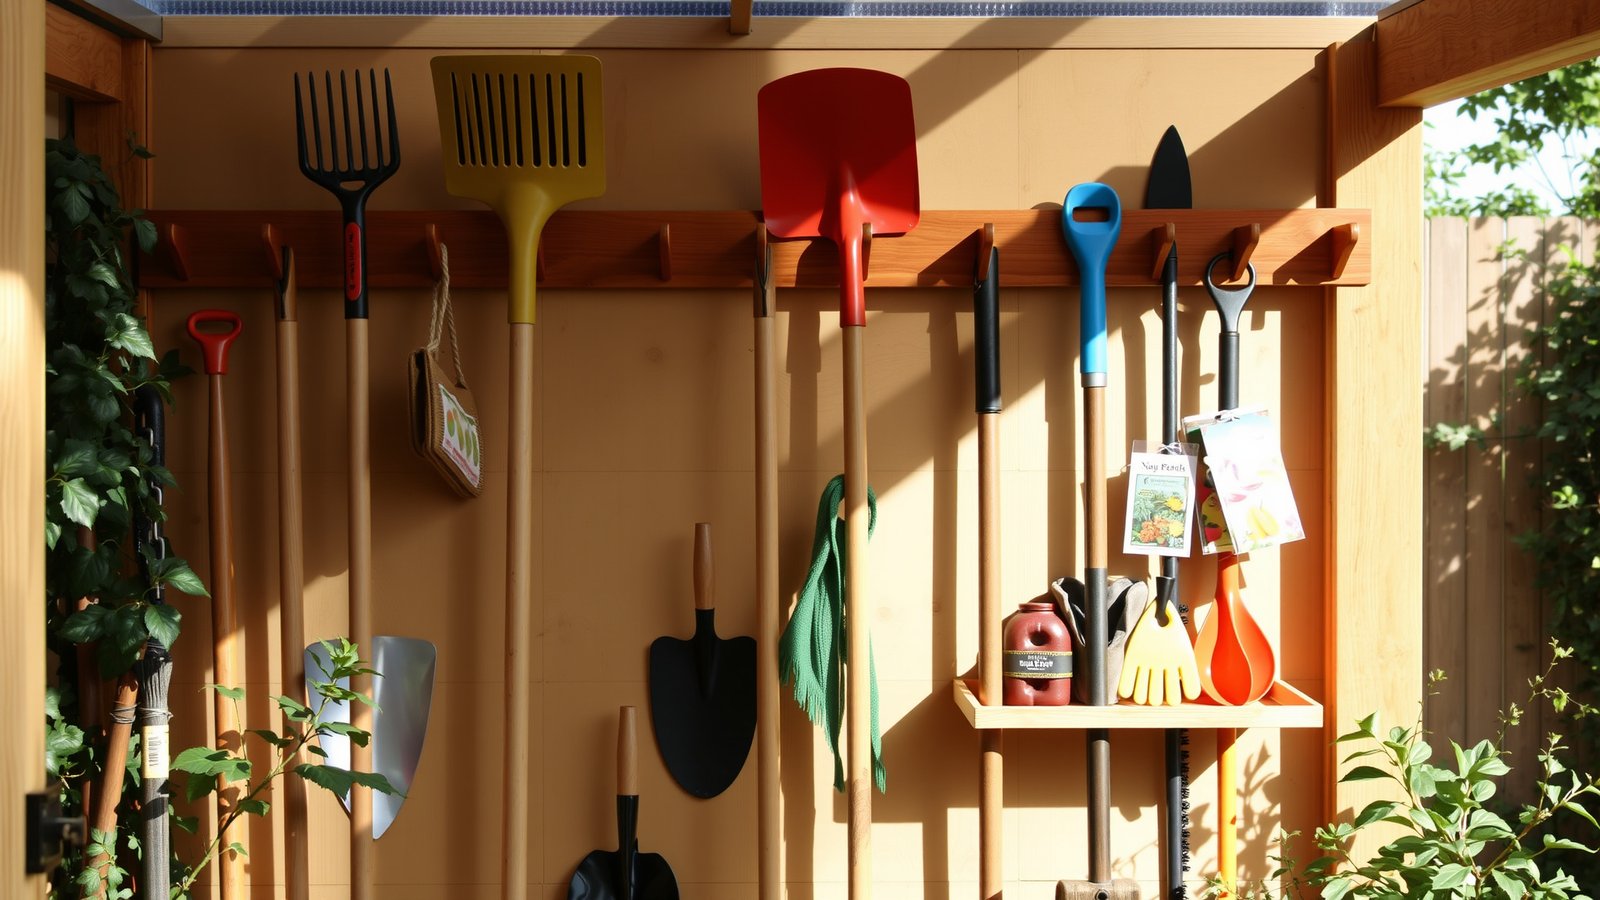
3. Create a Garden Tool Rack
If you have a collection of garden tools, keeping them organized can be a challenge. A dedicated garden tool rack can be a perfect solution. Imagine a wooden rack mounted on the wall with your rakes, shovels, and trowels hanging neatly. This keeps them off the ground and easy to reach. A garden tool rack not only saves floor space but also protects your tools from damage. To create one, simply install a few hooks at varying heights to accommodate different tools. A practical tip is to group tools by type or size for easy access when you’re in the middle of a gardening project.
Helpful Styling Tips
- Use bright colors for hooks to add a fun touch.
- Label each section for specific tools.
- Consider a rack with a small shelf for smaller items like gloves or seeds.
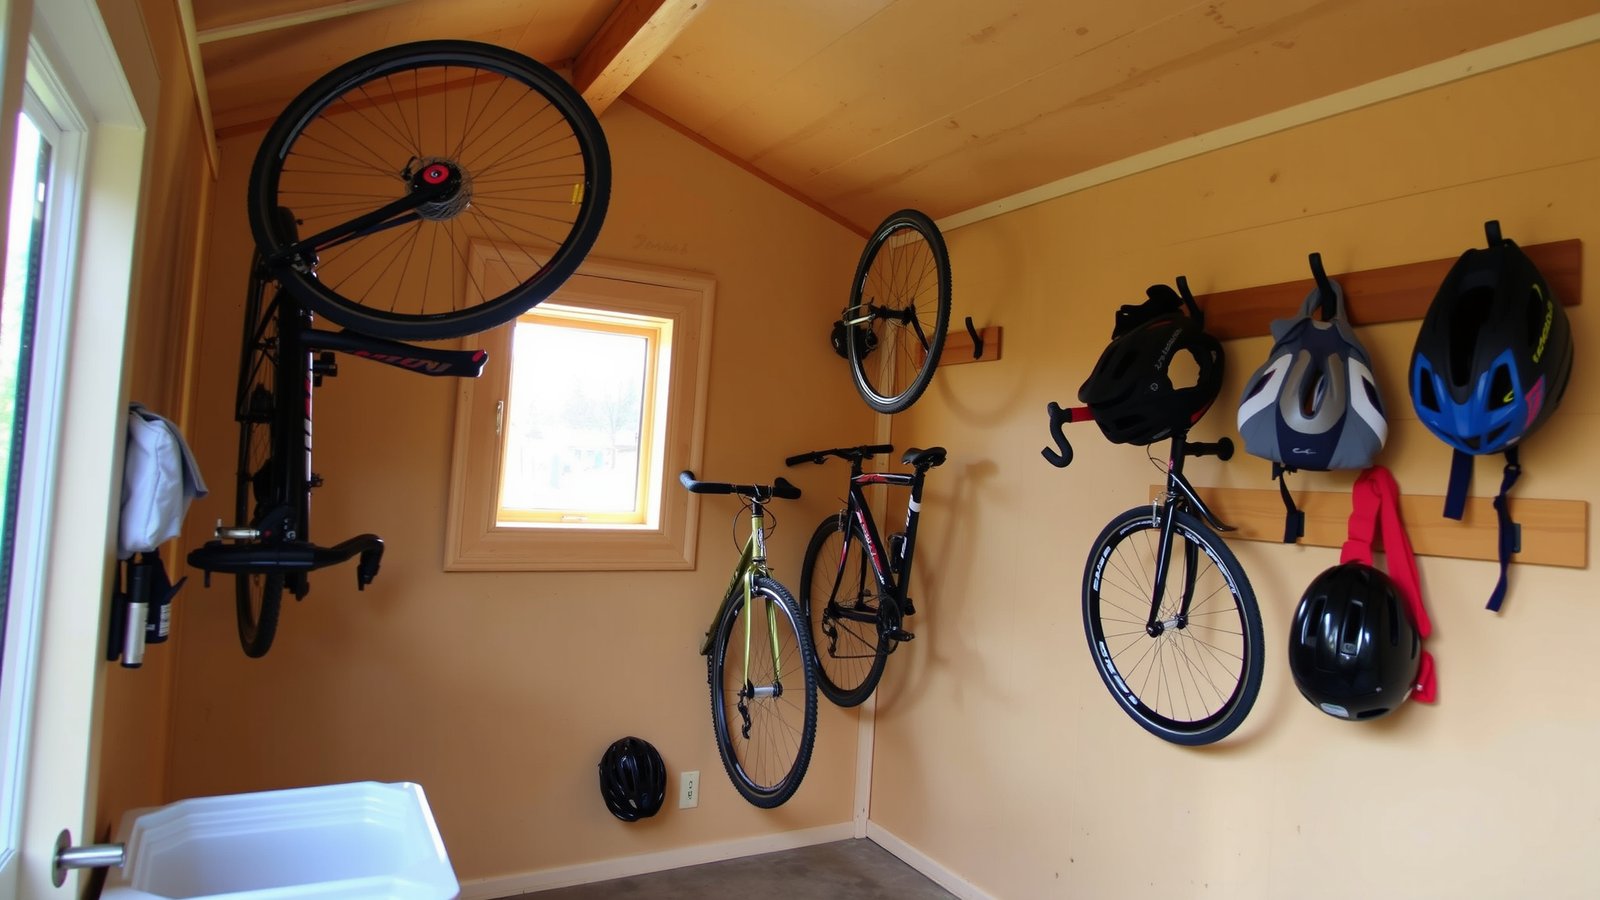
4. Hang Bicycles on the Wall
If you have bicycles in your shed, they can take up valuable floor space. Hanging them on the wall is a simple yet effective solution. You can use wall-mounted bike racks or hooks that allow you to lift your bike off the ground, creating a more open area. Picture your bikes elegantly displayed on the wall, freeing up space for other items. By hanging your bikes, you not only create more room but also keep them protected from damage. To implement this hack, make sure to choose a rack that suits your bike type. A great tip is to hang bikes vertically if you have limited wall space, ensuring you maximize every inch.
Helpful Styling Tips
- Choose a color for the bike rack that complements your shed’s theme.
- Add hooks for helmets and accessories nearby.
- Consider a bike cover for extra protection against dust.
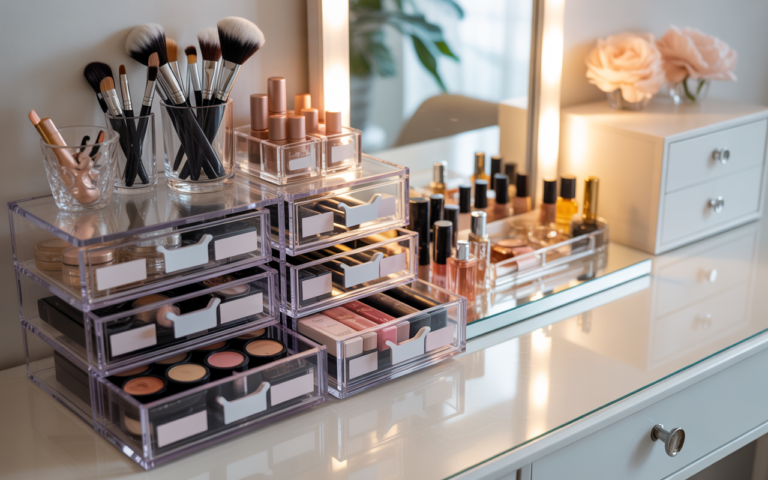
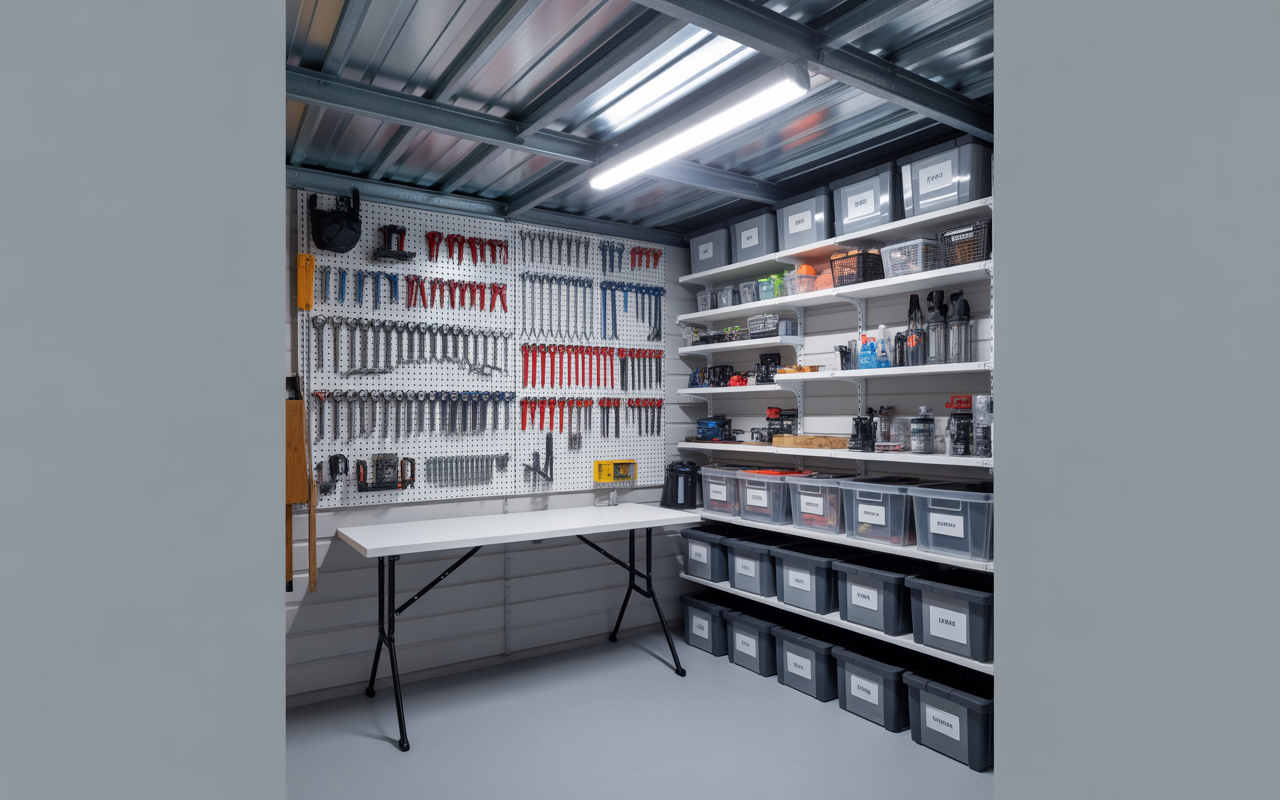
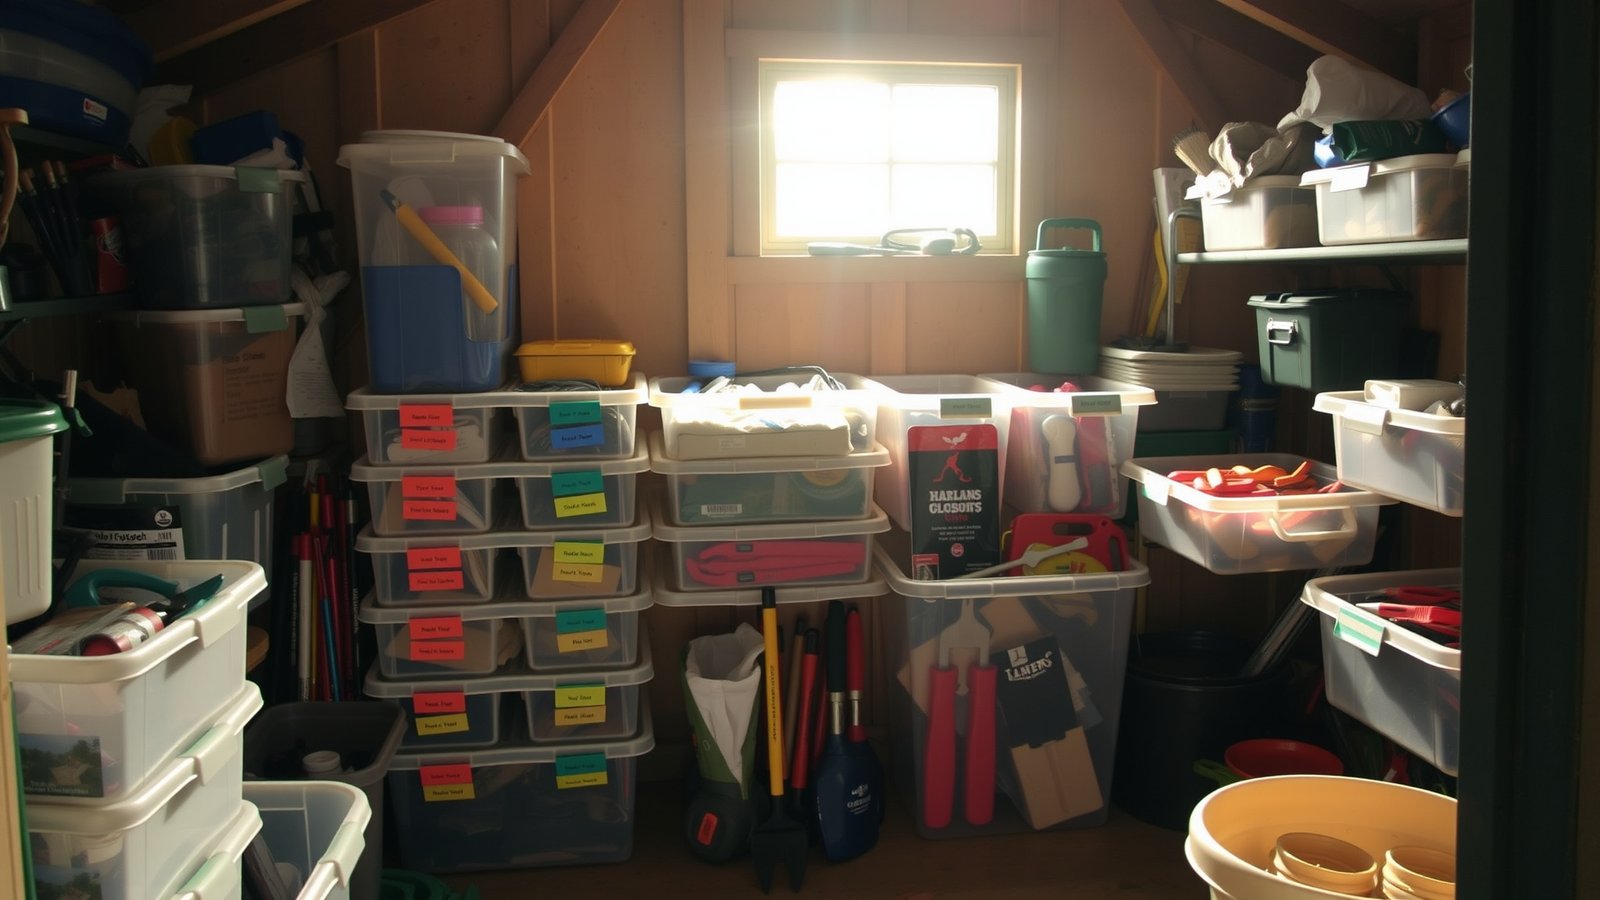
5. Use Clear Storage Bins
Clear storage bins are a fantastic way to keep your shed organized while allowing you to see what’s inside at a glance. These bins can stack easily, making them perfect for storing everything from gardening supplies to tools. Imagine a row of neatly labeled bins, each filled with items, making it easy to find exactly what you need. Using clear bins not only saves space but also streamlines your workflow. To get started, invest in bins of various sizes to accommodate different items. A handy tip is to label each bin with its contents for quick identification, so you never waste time searching.
Helpful Styling Tips
- Choose bins in a uniform size for a neat look.
- Use colorful labels for a cheerful touch.
- Store seasonal items in larger bins to keep them out of the way.
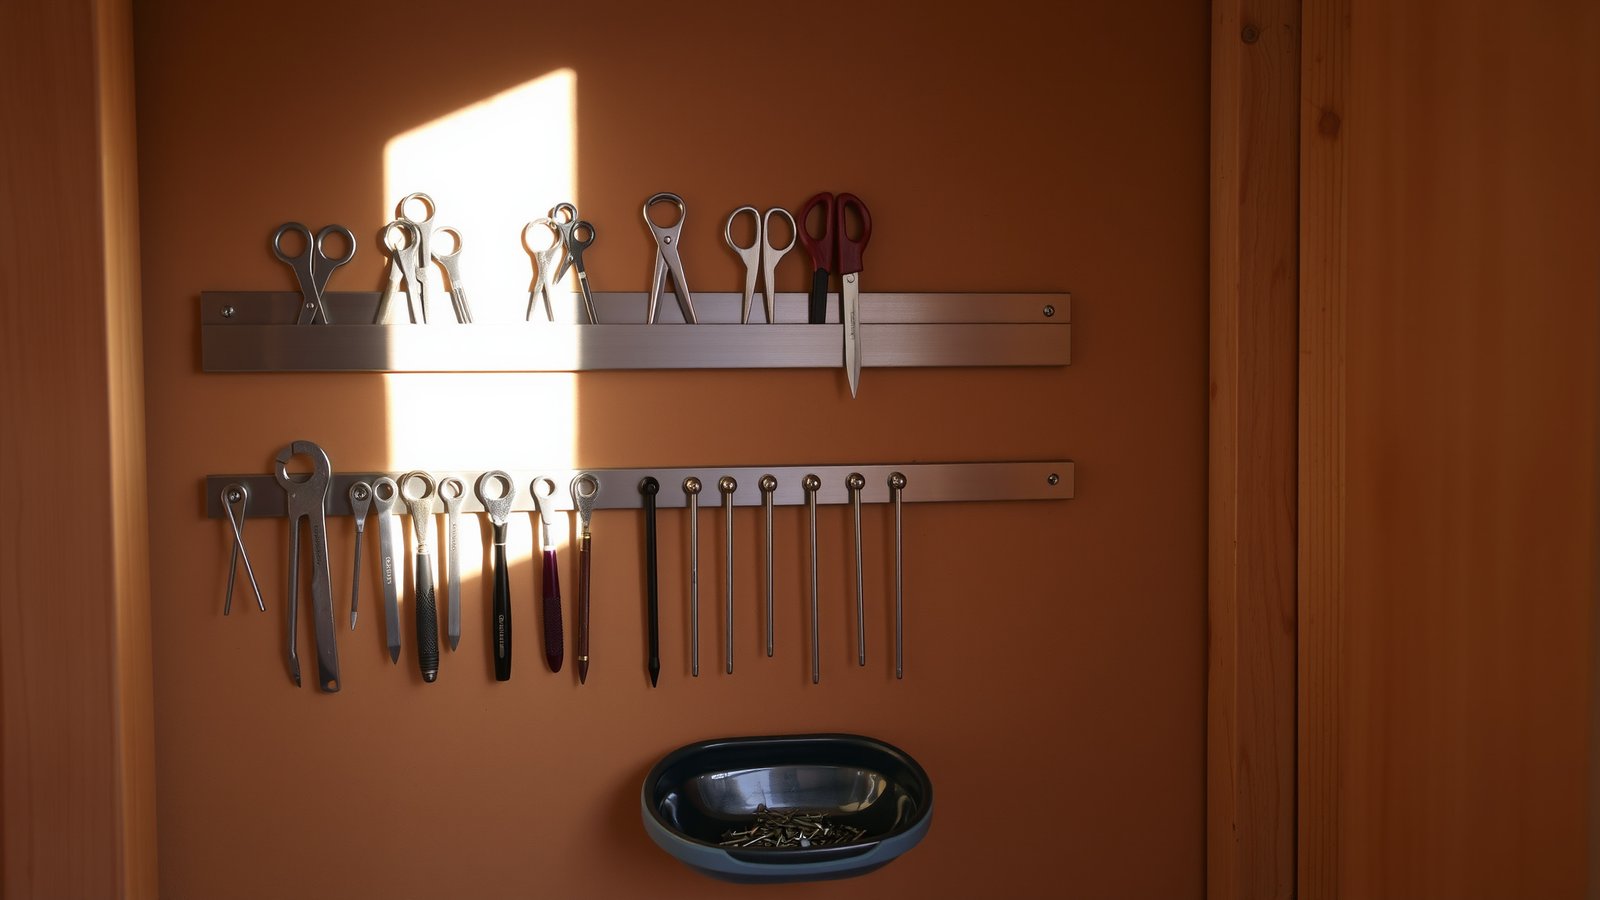
6. Incorporate Magnetic Strips
Magnetic strips are a clever way to keep small metal tools organized and visible. You can install a magnetic strip on your shed wall to hold everything from scissors to screwdrivers. Picture a sleek strip with tools lined up neatly, making it easy to grab what you need in seconds. This hack minimizes clutter while ensuring that your tools are always at your fingertips. To implement this idea, mount a strip at eye level for easy access. A great tip is to add a small dish for screws and nails right below the strip to catch anything that falls.
Helpful Styling Tips
- Choose a magnetic strip that matches your shed’s decor.
- Organize tools by size or function for easy access.
- Consider a colorful strip for a fun pop of color.
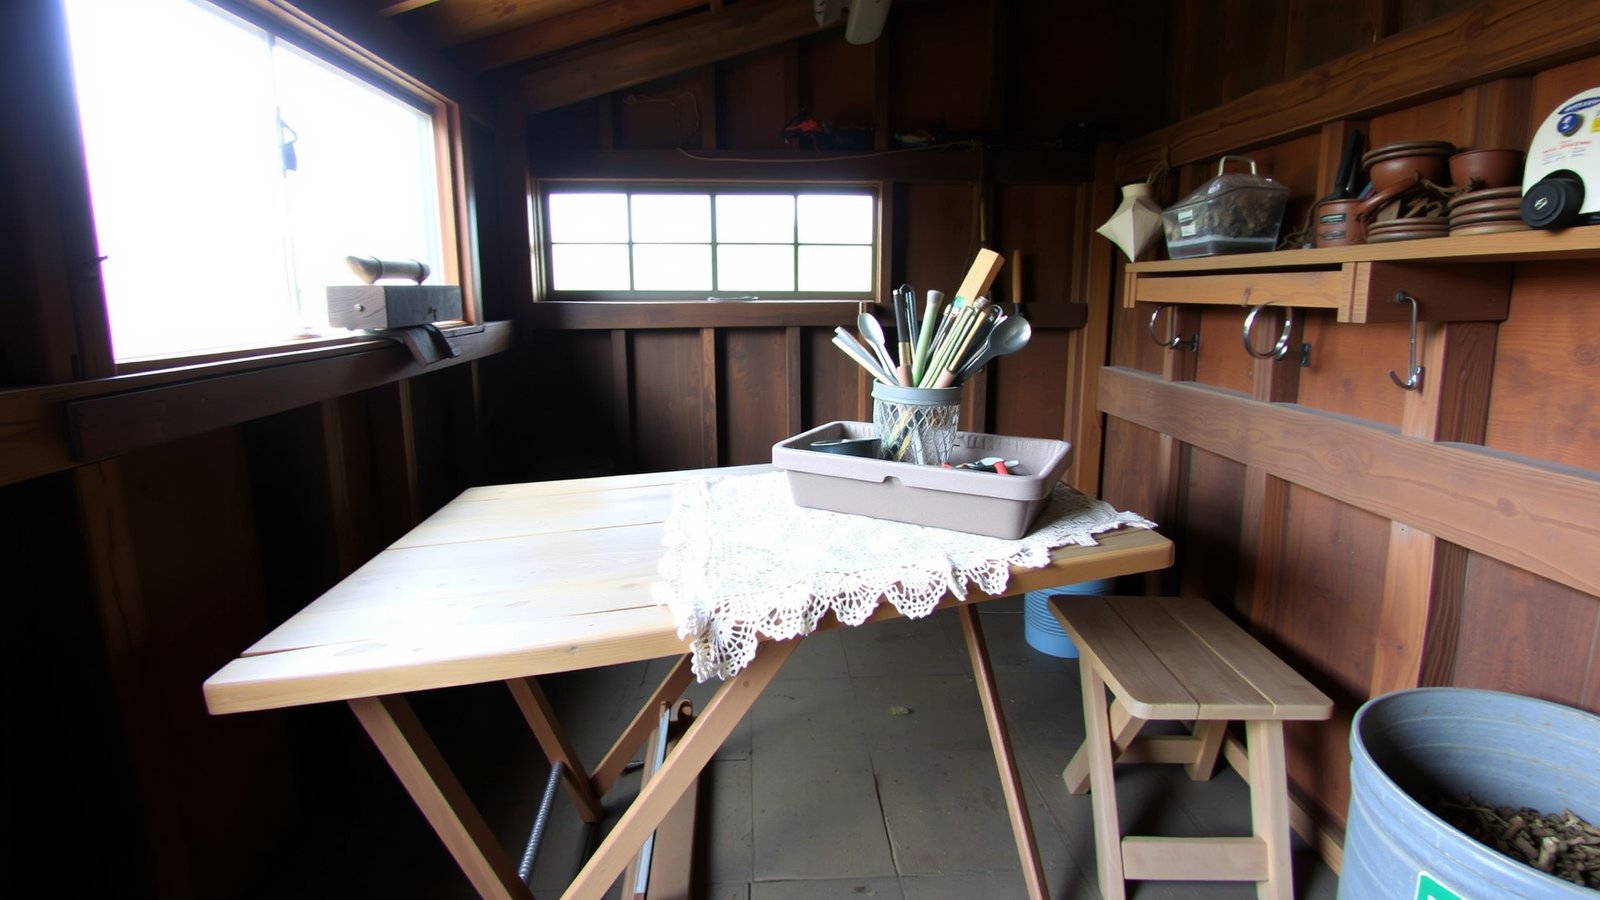
7. Install a Folding Table
A folding table is a versatile addition to any shed, providing extra workspace without taking up permanent space. You can fold it down when not in use and set it up for potting plants or working on projects. Imagine having a spacious table that you can easily tuck away when you’re done. This solution is perfect for those who need flexibility in their work area. To make the most of this idea, choose a sturdy table that can support your projects. A practical tip is to mount it near your workbench for seamless transitions between tasks.
Helpful Styling Tips
- Select a folding table in a color that complements your shed.
- Add a tablecloth for a cozy touch when in use.
- Keep a small container on the table for tools while you work.
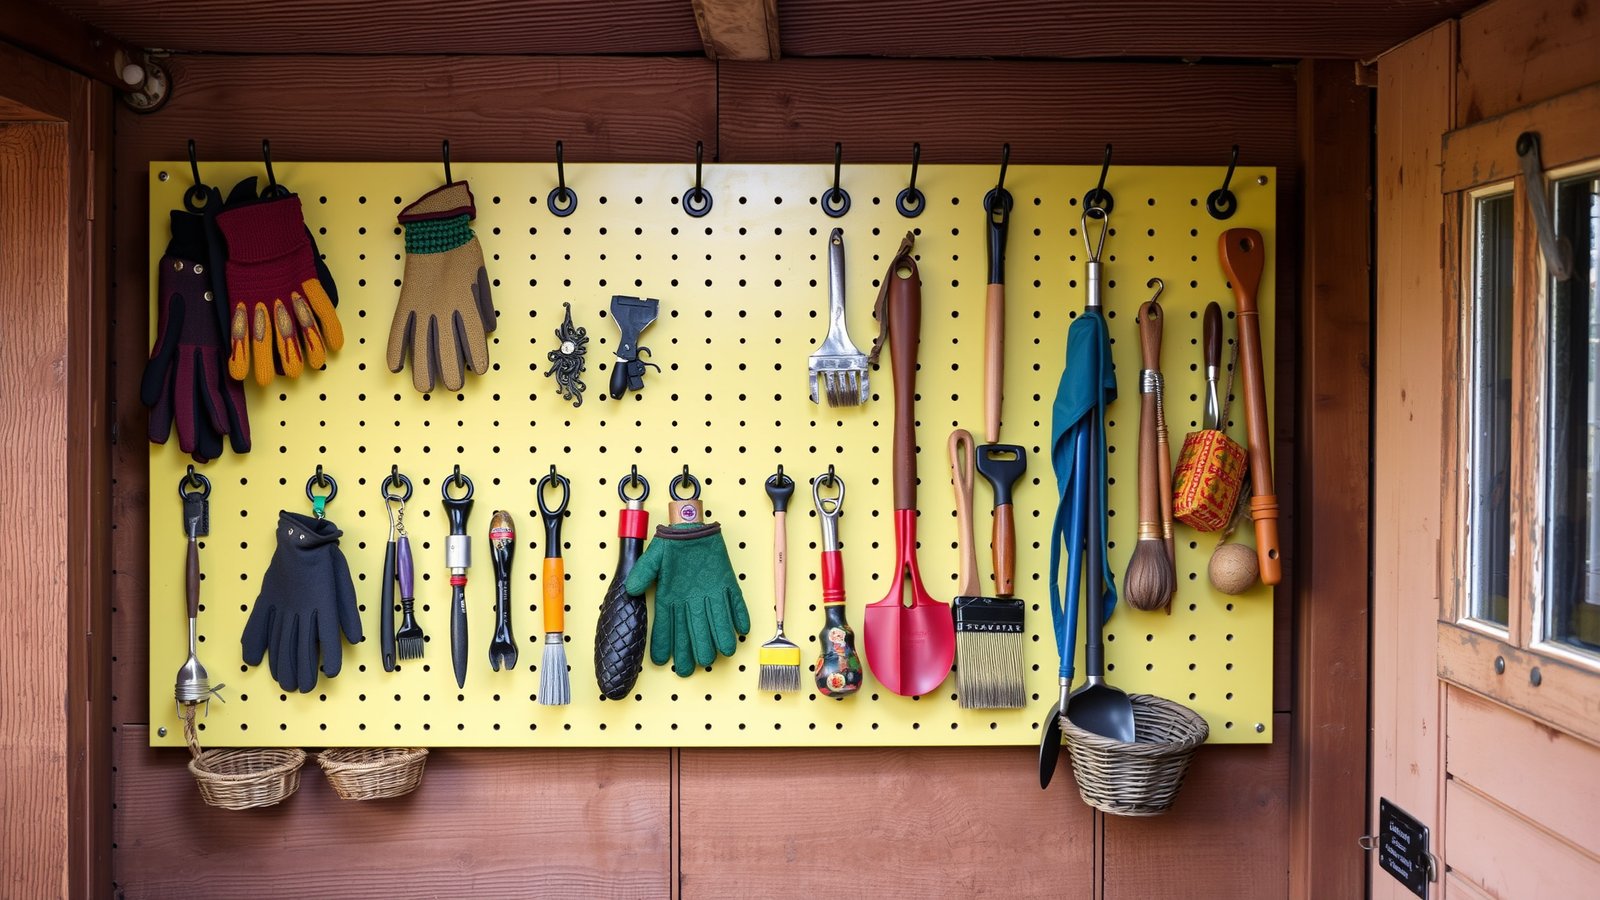
8. Use a Pegboard for Small Items
Pegboards are fantastic for organizing small items like gardening gloves, small tools, and paintbrushes. You can customize the layout to fit your needs, making it easy to see and access everything at a glance. Picture a colorful pegboard filled with your essentials, all neatly arranged and ready for use. This hack maximizes wall space while keeping your items organized and easy to find. To get started, choose a pegboard that fits your wall space and add hooks in various sizes. A helpful tip is to group similar items together for a more cohesive look.
Helpful Styling Tips
- Paint the pegboard in a color that matches your shed.
- Add decorative hooks for a personal touch.
- Incorporate small baskets on the pegboard for additional storage.
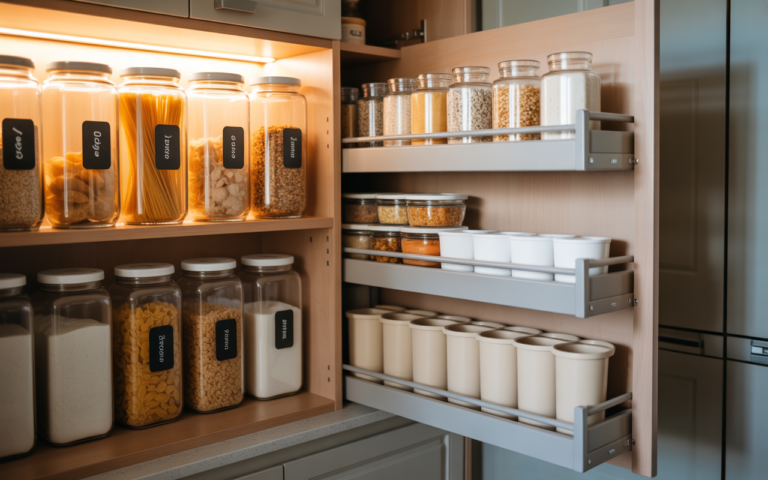
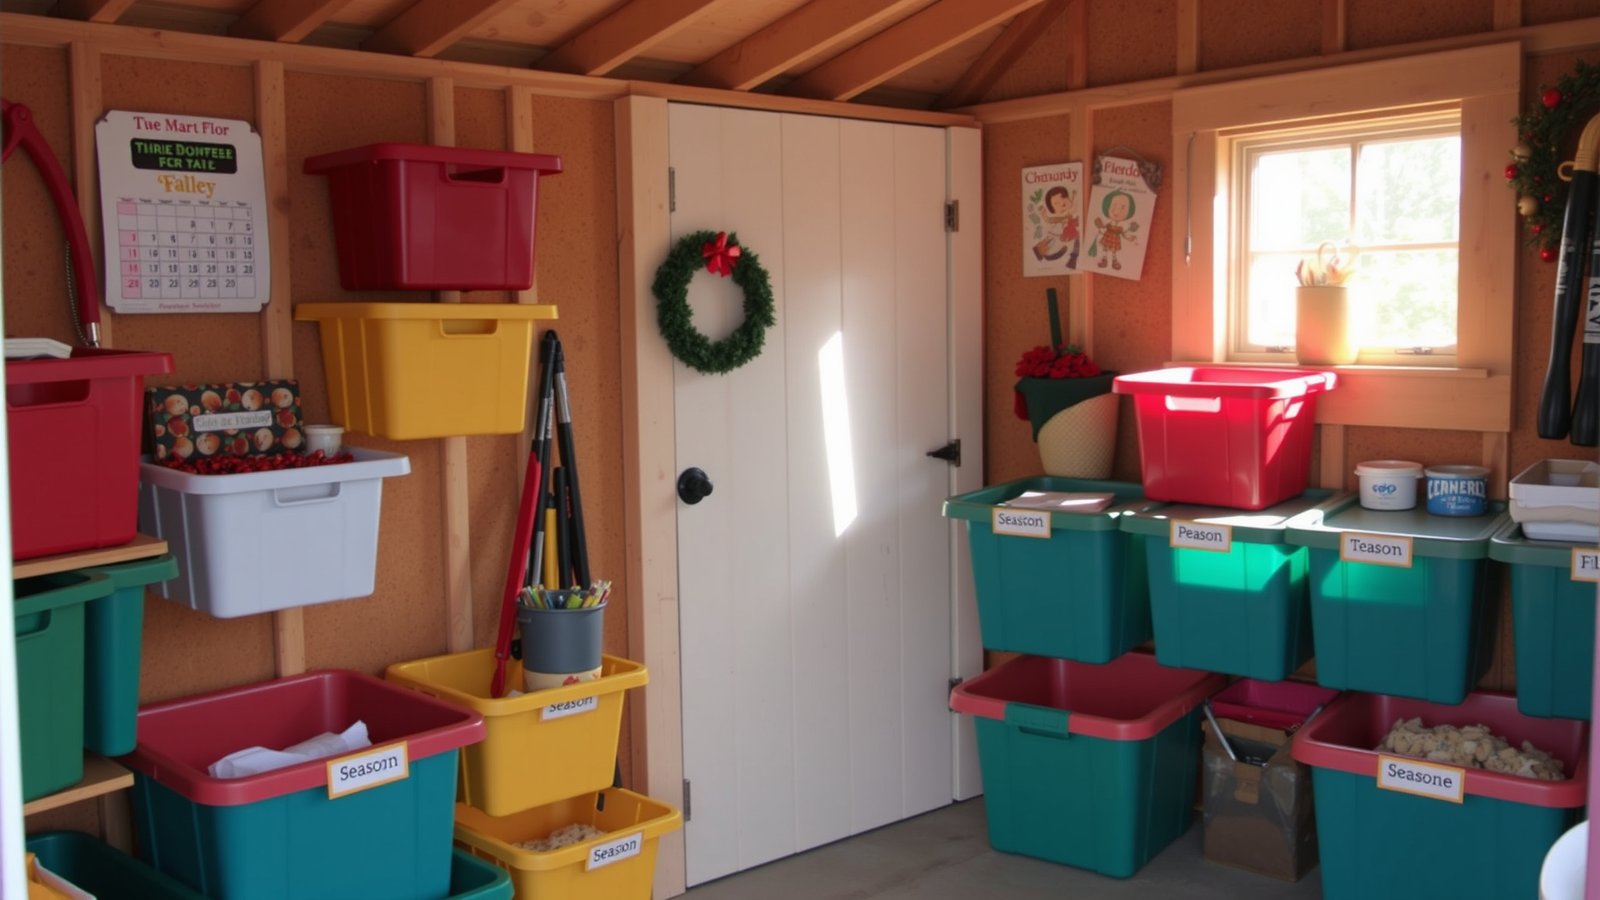
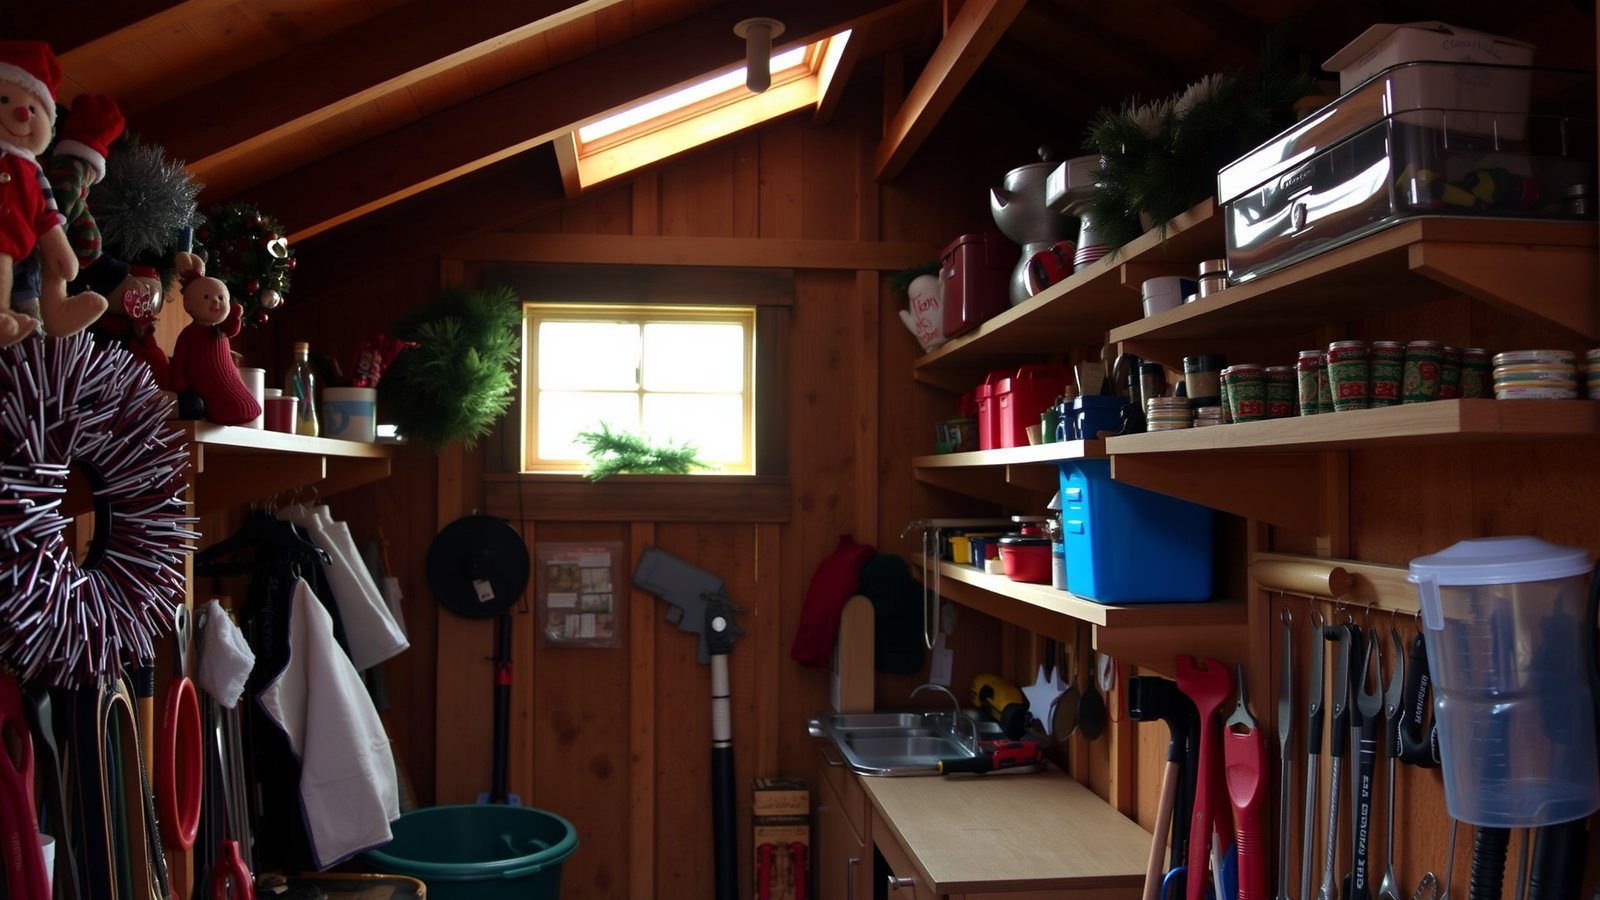
9. Create a Seasonal Storage Space
Organizing your shed by season can make a big difference in how you utilize the space. Designate specific areas or bins for seasonal items, such as holiday decorations or winter gear. Imagine a neat corner of your shed dedicated to holiday cheer, making it easy to pull out decorations when the time comes. This approach not only saves space but also streamlines your storage. To implement this idea, label each section according to the season. A practical tip is to store off-season items at the back, keeping them out of the way until needed.
Helpful Styling Tips
- Use colorful bins for each season to make them easily identifiable.
- Incorporate a small calendar on the wall to remind you of seasonal tasks.
- Store seasonal items in a decorative way, like using festive bins.
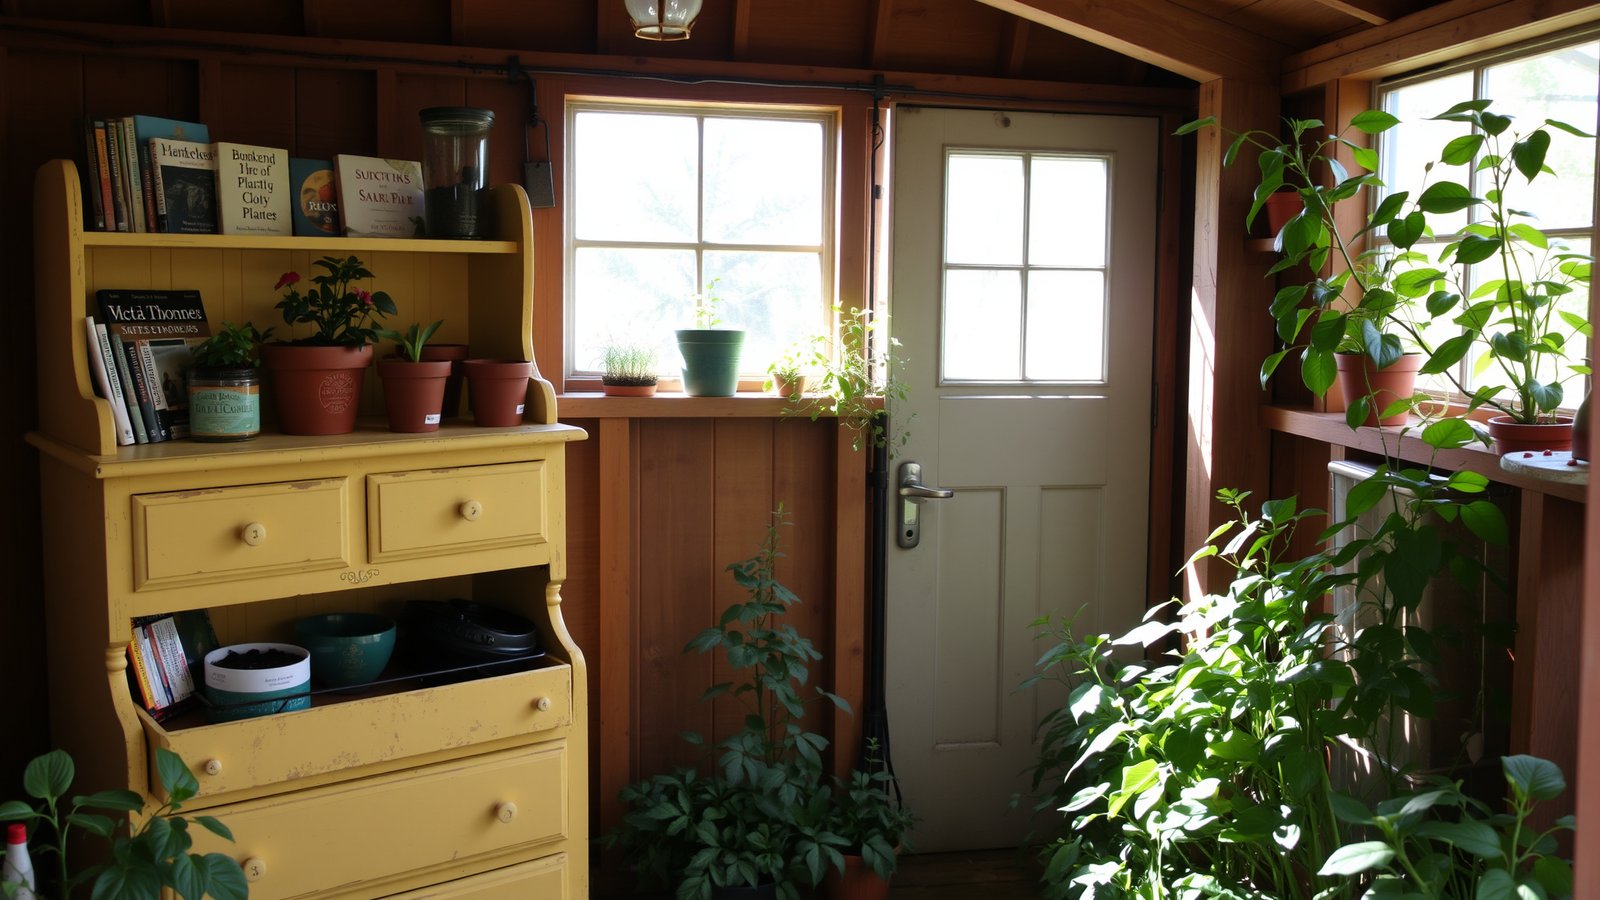
10. Repurpose Old Furniture
Repurposing old furniture can add character to your shed while providing extra storage. Think about using an old dresser for tools or a bookcase for gardening books and supplies. Picture a charming dresser filled with pots, soil, and plant care books, creating a cozy and functional area. This hack not only saves money but also gives new life to old items. To make it work, choose furniture that fits your shed’s theme. A helpful tip is to paint the repurposed furniture in a cheerful color to brighten up the space.
Helpful Styling Tips
- Use a weather-resistant paint for outdoor use.
- Add plants on top of the furniture for a fresh touch.
- Incorporate cushions for a cozy seating area.
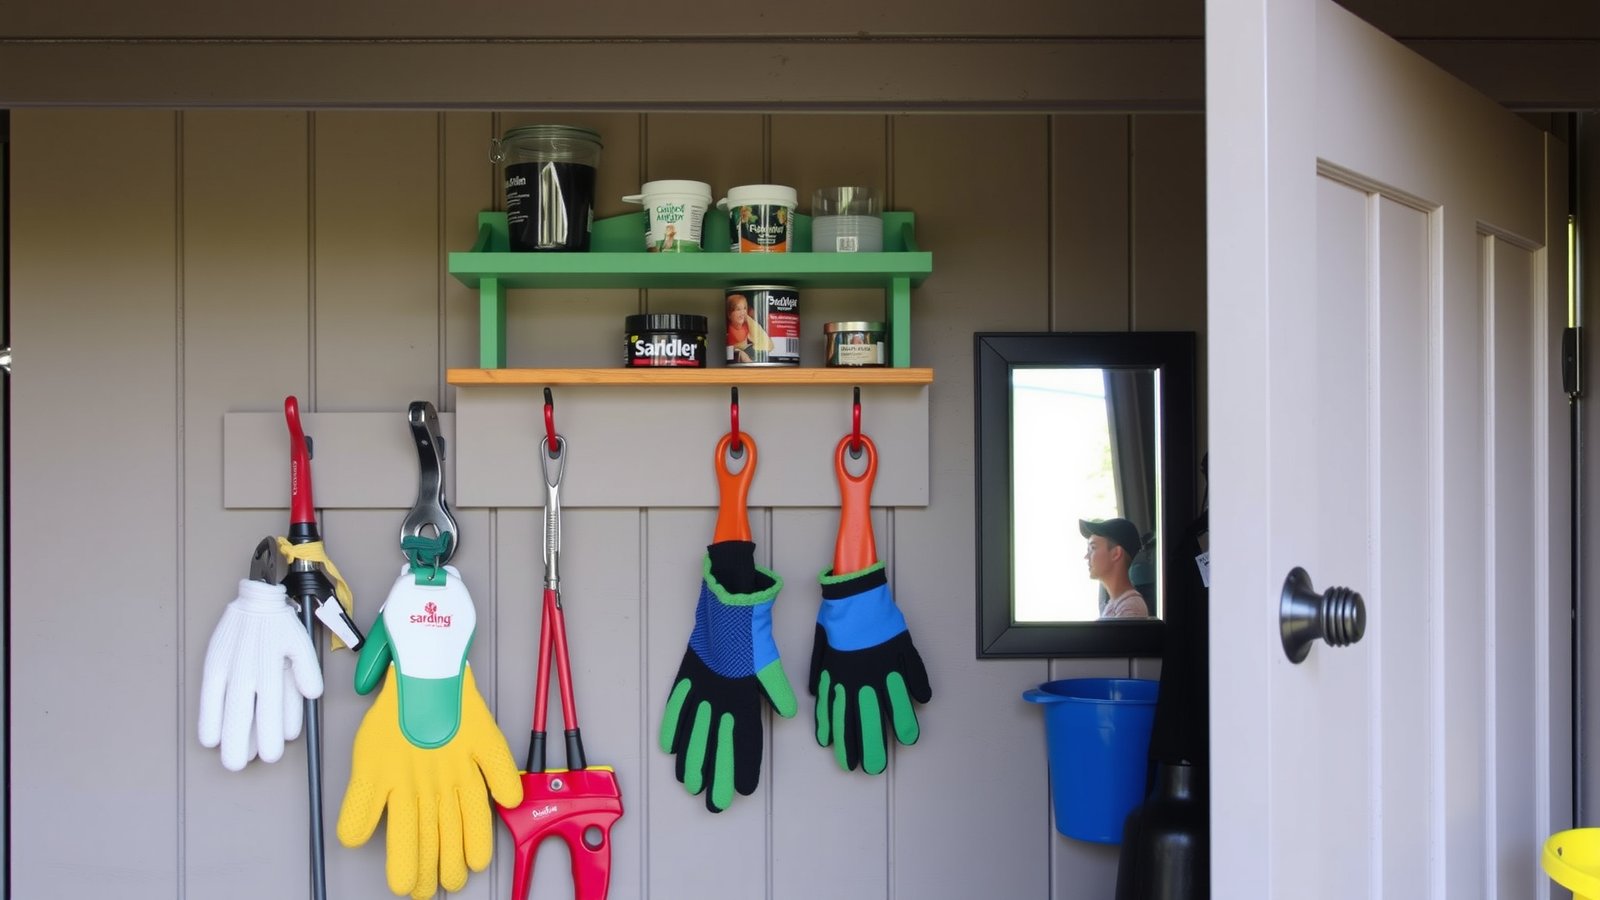
11. Utilize Door Space
Don’t forget about the doors of your shed! They can be a great space for storage too. Consider adding hooks or a small shelf on the inside of the door for items you use frequently. Imagine opening the door to find your gardening gloves and tools neatly organized and ready for action. This hack maximizes storage without taking up any floor space. To get started, install hooks or a small shelf that fits your needs. A practical tip is to use adhesive hooks for easy installation without damaging the door.
Helpful Styling Tips
- Choose hooks in fun colors to add personality.
- Consider magnetic strips for tools on the door.
- Add a small mirror to the door for a functional touch.
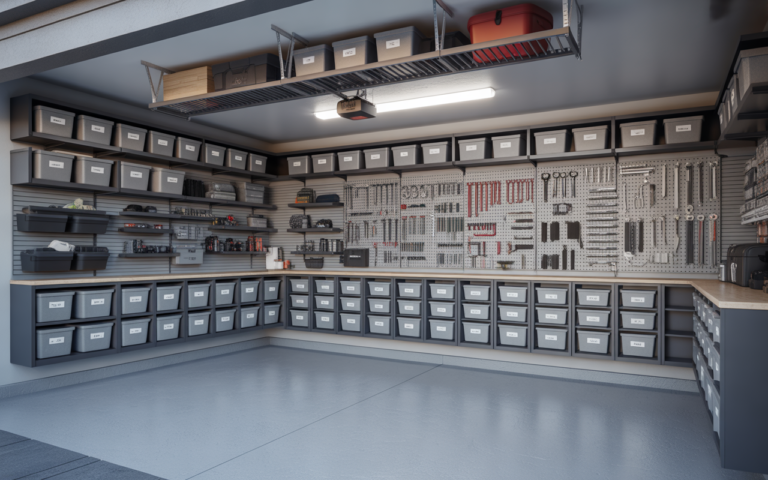
12. Install Overhead Storage
Overhead storage can be a lifesaver in a shed, providing a place for items you don’t use daily. You can install shelves or racks above your head to keep seasonal items or less frequently used tools out of the way. Imagine having your holiday decorations stored neatly above, freeing up space below. This approach helps utilize vertical space effectively while keeping your shed looking tidy. To implement this idea, consider weight limits and choose sturdy materials for overhead shelves. A helpful tip is to store heavier items in the center for balance.
Helpful Styling Tips
- Use strong brackets to ensure safety for overhead storage.
- Label boxes stored overhead for easy identification.
- Consider using a step stool for easy access.
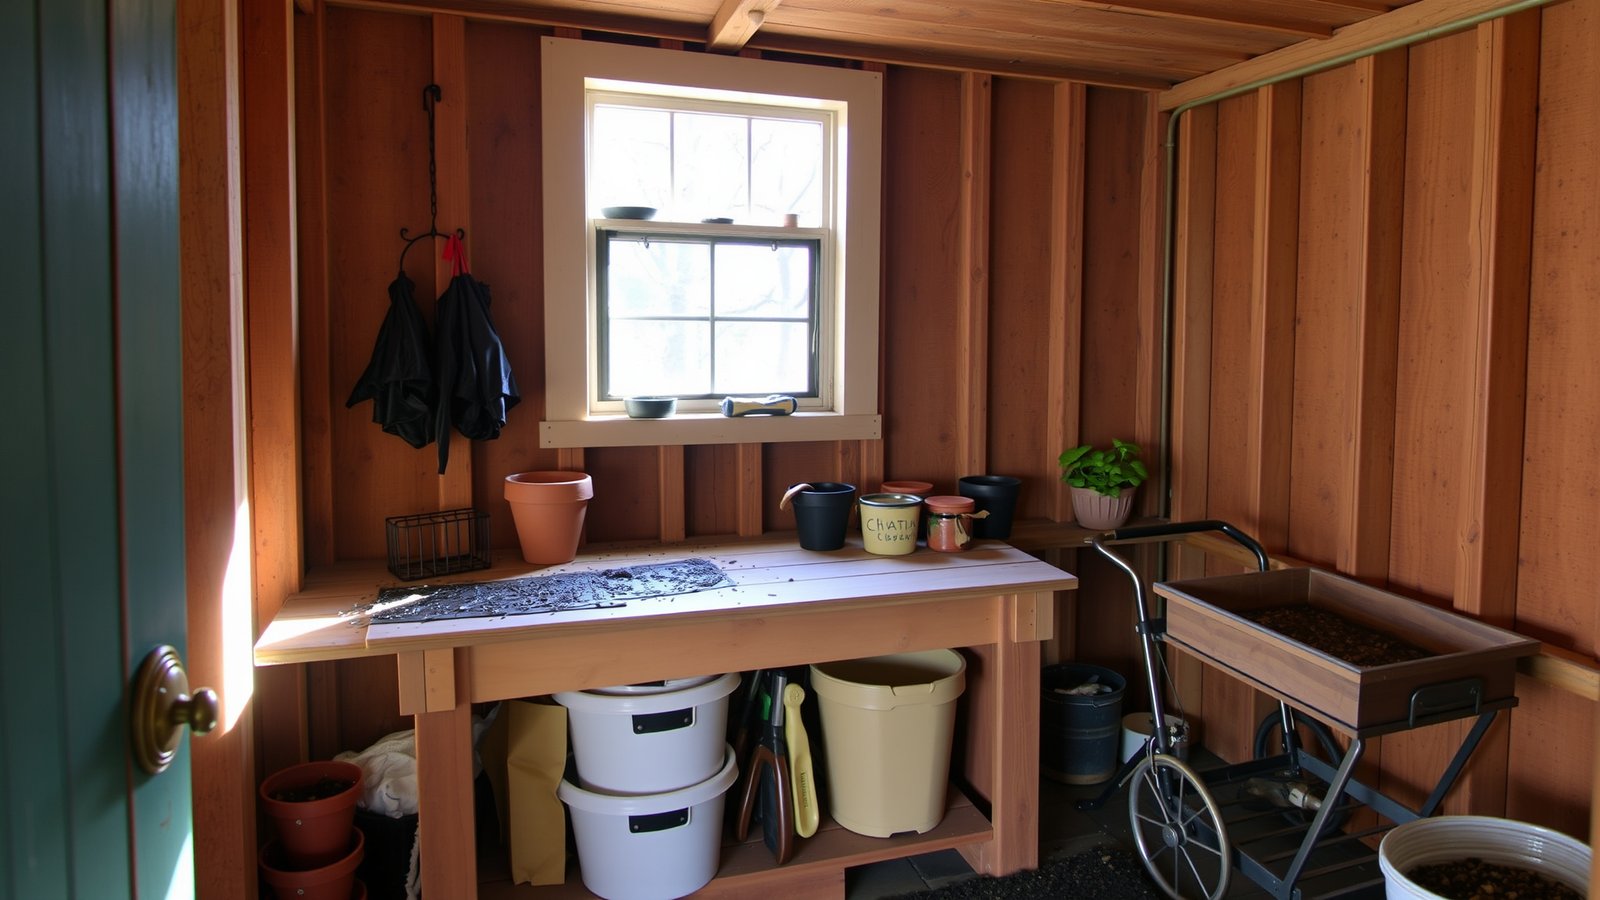
13. Create a Potting Station
A dedicated potting station can make gardening tasks much easier. Set up a small table with storage underneath for soil, pots, and tools. Picture a charming little corner in your shed where you can easily pot plants and keep everything organized in one place. This setup enhances your shed’s functionality and keeps gardening supplies in one area. To create your potting station, choose a sturdy table and ensure you have adequate storage nearby. A great tip is to add a small sink if plumbing allows, making it easy to clean up after potting.
Helpful Styling Tips
- Personalize the potting station with decorative pots.
- Incorporate a small garden cart for easy transport of supplies.
- Use a chalkboard to keep track of planting schedules.
14. Optimize Lighting
Good lighting can significantly improve the functionality of your shed. Consider adding bright LED lights or natural light sources to illuminate your workspace. Imagine stepping into a well-lit shed where you can easily see your tools and supplies, making projects more enjoyable. Proper lighting not only enhances visibility but also creates a warm and inviting atmosphere. To improve lighting, install LED strips along shelves or use battery-operated lights in darker corners. A helpful tip is to position your workbench near windows, maximizing natural light during the day.
Helpful Styling Tips
- Choose warm-toned bulbs for a cozy feel.
- Incorporate fairy lights for a whimsical touch.
- Use reflective surfaces to enhance brightness.

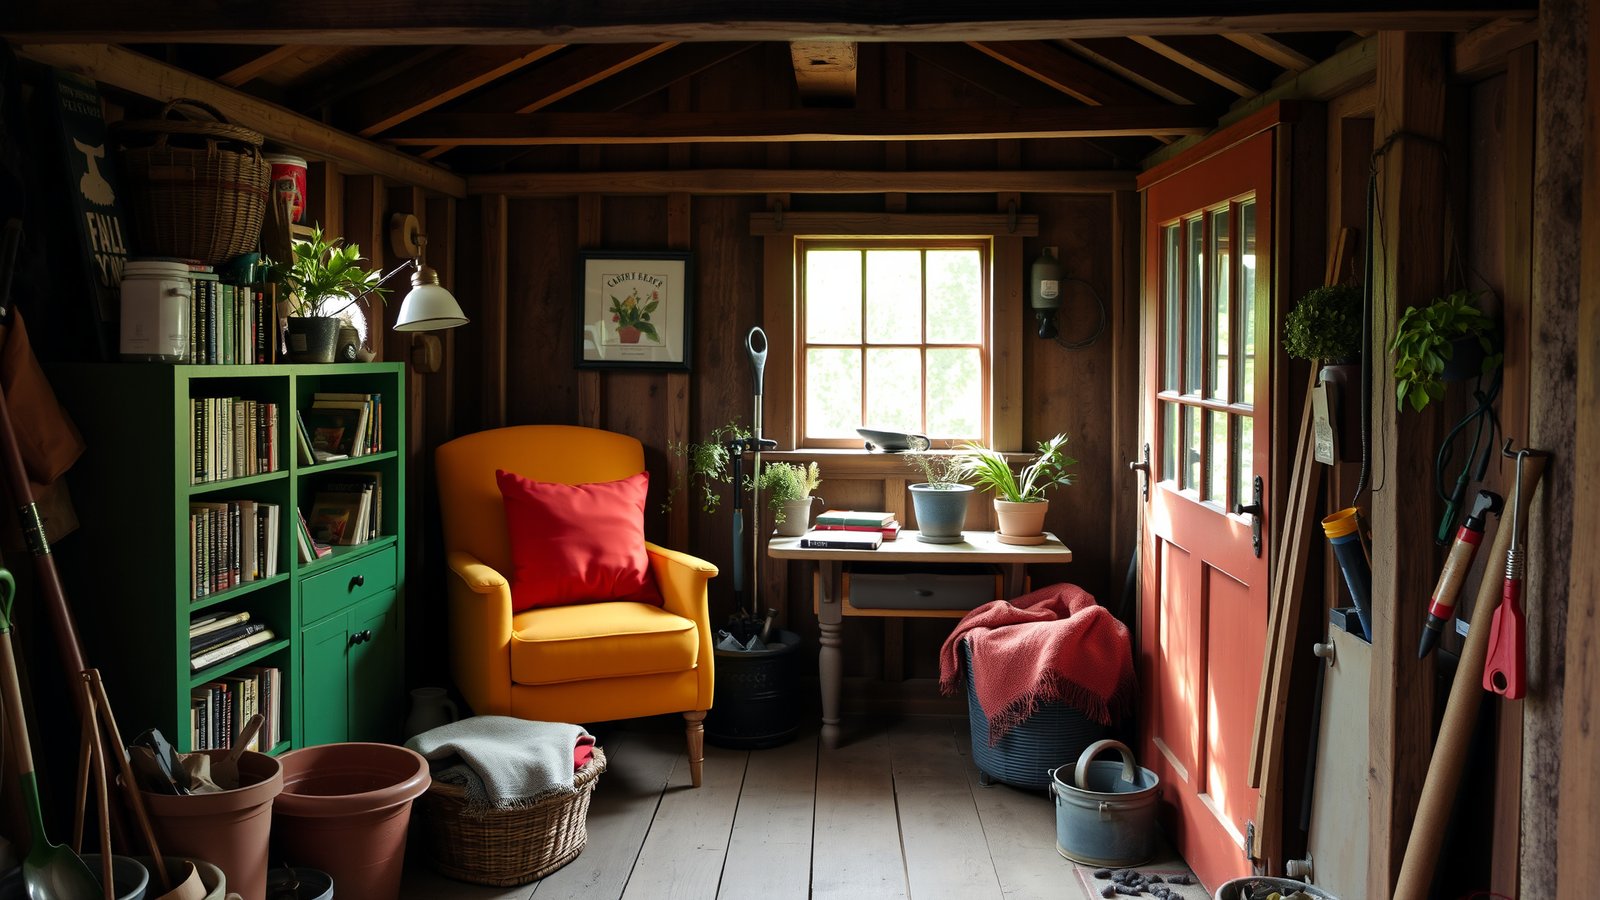
15. Create a Cozy Reading Nook
Finally, consider setting up a cozy reading nook in your shed. This can be as simple as adding a comfortable chair and a small bookshelf. Picture a relaxing corner where you can sit back with a good book, surrounded by your gardening supplies and tools. This space not only provides a break from work but also adds a personal touch to your shed. To create your reading nook, choose a comfortable chair that fits the space and add a small side table for drinks or snacks. A helpful tip is to incorporate a warm blanket for chilly days, making it an inviting retreat.
Helpful Styling Tips
- Select a chair in a bright color to enhance the space.
- Use a small bookshelf for easy access to gardening books.
- Add cushions for extra comfort and style.
Conclusion
With these 15 brilliant space-saving hacks, your shed can become an organized, functional space that inspires creativity and productivity. Whether it’s utilizing vertical space, investing in multi-functional furniture, or creating a cozy reading nook, there are plenty of ways to maximize your shed’s potential. So why not try out one or two of these ideas in your own shed today? You might be pleasantly surprised by how much easier and more enjoyable your gardening and DIY projects become!